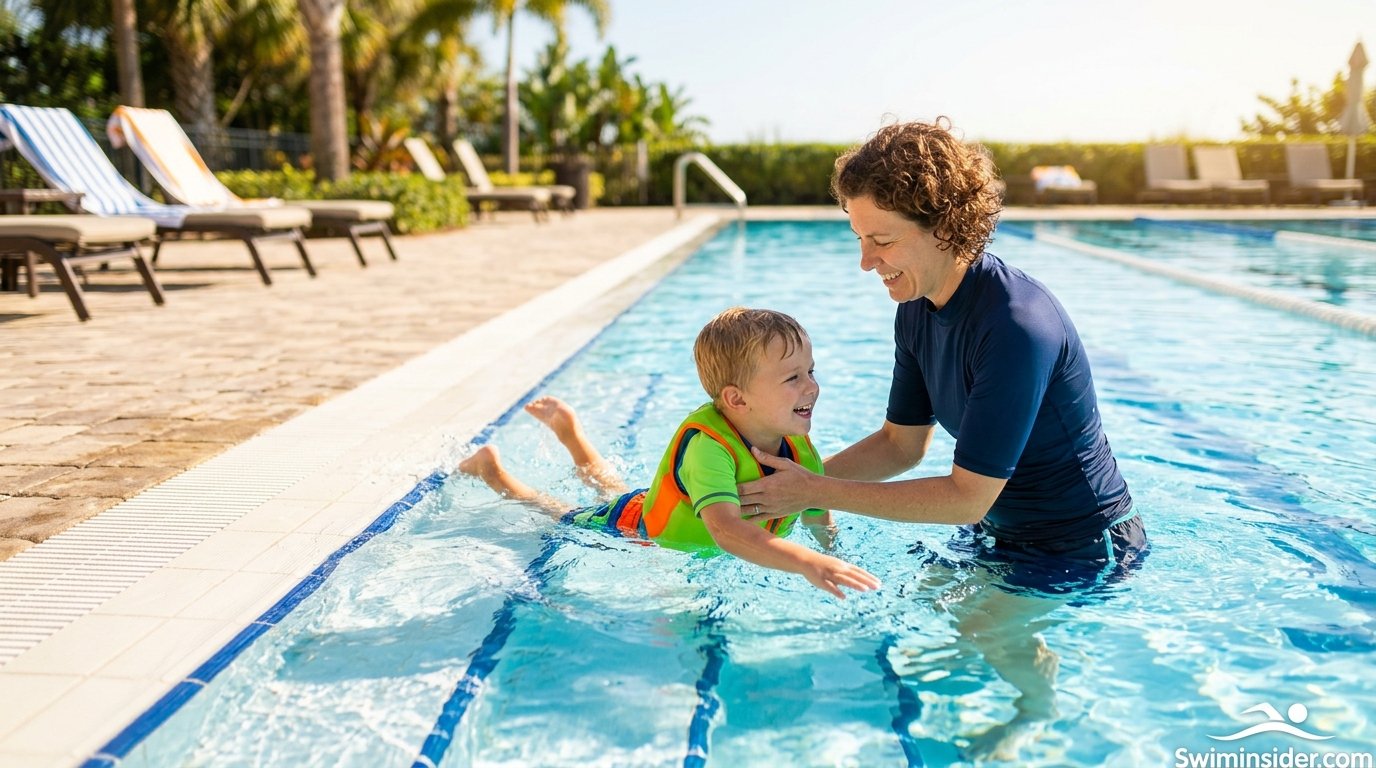
How to Teach Kids to Swim: A Step-by-Step Guide for Parents
Seven simple steps, clear diagrams, and practical tips to build confident, safe young swimmers.
Why Learning to Swim Matters (and Why It Is Worth Doing Right)
Few skills do as much for a child as swimming. It is exercise that feels like play, a safety skill that can matter for a lifetime, and a confidence builder that quietly spills into school, friendships, and everything else kids try. Parents who have watched a nervous four-year-old go from clinging to the wall to gliding across the pool know exactly what that moment feels like. It is pure pride, for both of you.
If you are wondering how to teach kids to swim, the good news is that you do not need to be a former competitive swimmer. You need patience, a calm voice, a safe place to practice, and a sensible order of skills. Children learn to swim the same way they learn to read: first comfort, then sounds, then words, then sentences. In the pool, that means comfort in the water, breath control, floating, kicking, gliding, and only then full strokes.
This guide walks you through that order, one step at a time, with a simple diagram for each step so you can picture exactly what you are aiming for. You will also find an age guide, a gear checklist, practice schedules, and fixes for the problems almost every family runs into, such as fear of water, leaky goggles, and soggy ears.
What good swim teaching looks like
The best swim teaching has three qualities. It is gradual, because each skill rests on the one before it. It is playful, because children who are having fun try again, and trying again is how skills stick. And it is consistent, because short, frequent sessions beat rare marathon ones every time. Keep those three ideas in mind and the rest of this guide will fall into place.
- Short sessions that end on a win
- One new skill at a time
- Plenty of games and songs
- Calm, encouraging feedback
- Warm water and a comfortable setting
- Gear that actually fits
Browse kid-friendly swim essentials, from goggles to kickboards, in one place.
Is Your Child Ready? A Practical Age-by-Age Guide
There is no single perfect starting age, and comparing your child to the neighbor’s kid is a fast way to lose the fun. Readiness is a mix of age, temperament, and experience. A child who has been splashing in baths and kiddie pools since babyhood may be ready for structured practice sooner than one who has barely seen a pool.
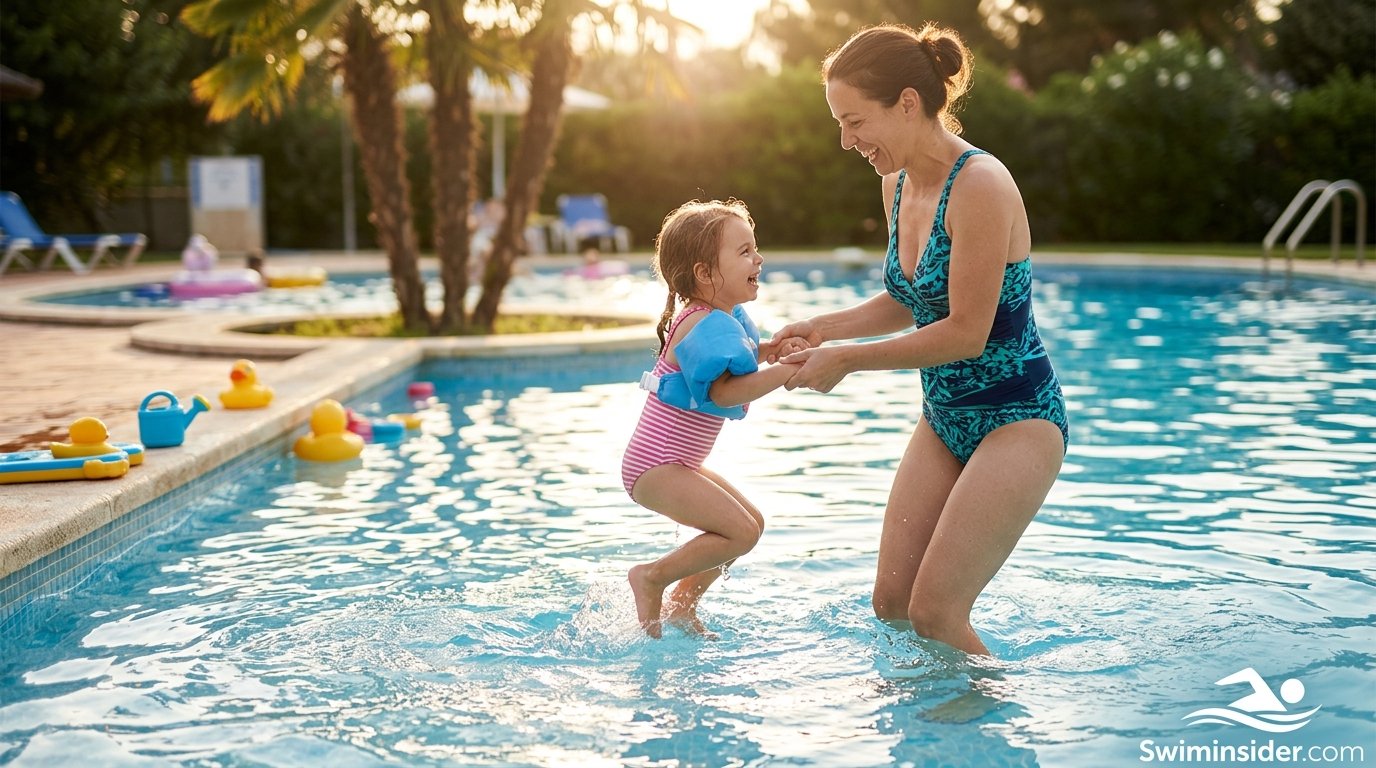
As a rule of thumb, babies and toddlers benefit from gentle water play with a parent, while children around age four and older are usually ready for skills like independent floating and short swims. Use the table below as a map, not a deadline.
| Age Range | Main Focus | Typical Session | Parent Role |
|---|---|---|---|
| 6–18 months | Comfort, splashing, songs | 10–15 min | Hands-on, face-to-face |
| 1.5–3 years | Bubbles, kicking on tummy, supported floating | 15–20 min | Within arm’s reach, playful guide |
| 3–5 years | Back float, glide, kicking with board | 20–30 min | Close supervision, coach |
| 5–8 years | Freestyle arms, side breathing, backstroke | 30–45 min | Coach and watcher |
| 8+ years | Stroke refinement, endurance, treading water | 45 min | Watcher, cheerleader |
Signs your child is ready
- They enjoy bath time or splashing without crying.
- They can follow a simple instruction such as “kick your feet.”
- They are curious about the pool instead of terrified of it.
- They can stay warm and focused for the length of a short session.
If your child is anxious, that is completely normal and not a sign they cannot learn. It just means you will spend more time on Step 1 than most families do. Nothing in this process has a prize for speed.
Parent-led practice versus formal lessons
Many families wonder which route is best. The honest answer is that both have strengths, and the strongest results usually come from a mix.
Parent-led practice
- Free and flexible
- Builds trust and bonding
- Easy to repeat often
- Matches your child’s mood
Where it falls short
- Technique mistakes can go unnoticed
- Kids sometimes resist parent coaching
- Safety drills may be skipped
- Hard to stay objective when your child is upset
A qualified instructor brings structure, safety training, and the magic of “listening to someone who is not Mom or Dad.” Use lessons for technique and practice sessions for comfort and fun.
From toddler-friendly accessories to beginner kickboards, see what is popular right now.
Gear Before You Get in the Water: What Actually Helps
You do not need a mountain of equipment, but a few well-chosen items can make learning faster and far more comfortable. The right gear removes small annoyances like stinging eyes, tangled hair, and swimsuits that shift mid-kick, and those annoyances are often what make a child say, “I do not want to swim.”
Goggles: the biggest comfort upgrade
For many kids, goggles are the difference between hating the pool and loving it. Seeing clearly underwater makes the world less scary, and it keeps chlorine out of their eyes. Start with our guide to the best swimming goggles for kids, and if you are shopping for a very small face, check the picks for the best swimming goggles for toddlers. Newer swimmers can also look at the best swimming goggles for beginners, and if you want a broader overview, our main best swimming goggles roundup covers every category.
Fit matters more than brand. If you are not sure how to pick, our walkthrough on how to choose swimming goggles breaks down gasket shape, strap style, and lens type. Prioritize pairs that are known to be the most comfortable swimming goggles, because a child will not keep wearing something that pinches. If foggy lenses are a frequent complaint, look at the best anti-fog swimming goggles, and if leaks keep ruining your sessions, the best swimming goggles that do not leak guide is a useful companion.
Swimsuits that stay put
A good swim lesson swimsuit is snug, comfortable, and does not drag or float up. For girls, one-piece styles tend to stay in place best, and you can compare options in the best one-piece swimsuits guide. Families who prefer more coverage or sun protection will find ideas in the best modest swimsuits roundup, and the full best swimsuits guide is a handy reference for the whole family. For boys, fitted swim trunks or jammer-style shorts work better than loose board shorts that billow in the water.
Swim caps, nose clips, and ear plugs
If your child has long hair, a swim cap keeps it out of their face, which makes bubbles and face-in-water practice far easier. Browse the best swim caps and the best swim caps for long hair guides, and learn the right way to put on a swim cap without pulling hair. If you are torn on material, our comparison of silicone vs latex swim caps helps you decide, especially if your child has sensitive skin.
Some children find water up the nose upsetting, and a soft nose clip can help in the early stages. See our list of the best nose clips for swimming. For kids who are prone to ear trouble, soft silicone options are covered in the best ear plugs for swimmers guide.
Learning aids worth having
- Kickboard for leg practice
- Pool noodle for supported floating
- Sinking toys for underwater games
- Hooded towel for warming up
- Sunscreen and rash guard outdoors
- Water bottle for after practice
Goggles, caps, kickboards, and swimsuits, all in one tap.
Step 1: Build Water Comfort Before Anything Else
STEP 1Every strong swimmer started as a comfortable splasher. Before you introduce a single technique, your child needs to feel safe, warm, and secure in the water. Skip this step and every later one gets harder; invest in it and the rest can feel surprisingly easy.
How to do it
- Pick a calm moment. Choose warm water, a quiet time of day, and a shallow area where your child can stand with their shoulders above the water.
- Get in together. Hold your child at your hip or chest, facing you, with your hands securely around their torso. Eye contact is a powerful calming tool.
- Move slowly. Walk around gently, sing a song, and let the water lap at their legs and tummy.
- Play simple games. Splash with hands, pour water over arms with a cup, and let them kick their feet against your hands.
- Wet the face gradually. Use a cup of water poured over the back of the head, then the forehead, always with a warning such as “ready, set, splash.”
Short sessions are fine. Ten happy minutes beat thirty tense ones. If your child cries, pause, cuddle, and try something easier, then return to the harder game later. Fear is not a failure, it is information about the pace you should use.
Games that build comfort
- Rubber duck rescue: collect floating toys from different spots in the shallow end.
- Row the boat: sit facing your child and gently sway while singing a boat song.
- Wet-washcloth face wipe: make bath-time practice part of the routine at home.
- Shower splash: let them stand under a gentle spray if the pool has one.
If your child resists, do not force the face into the water. Pressure creates fear, and fear lasts. Instead, take a break and come back to an earlier game that they enjoyed.
Water toys and sinking games turn comfort practice into play.
Step 2: Bubbles and Breath Control
STEP 2Breathing is the part of swimming that trips up the most beginners. On land, we breathe without thinking. In the water, we have to learn to hold air, release it, and take a new breath at the right time. The good news is that bubble games teach exactly this skill, and kids love them.
The bubble progression
- Hum with lips on the surface. Show your child how to put their mouth against the water and hum, making a ticklish buzz.
- Blow bubbles with the mouth only. Encourage a gentle, steady breath out, as if blowing out a birthday candle.
- Add the nose. Move the face lower so the mouth and nose are underwater, blowing out through both. This is the foundation for freestyle breathing later.
- Add a count. Challenge them to blow bubbles for a count of three, then five.
- Add the rhythm. Blow bubbles underwater, then pop up and take a quick breath. Repeat it like a game.
Goggles can make a big difference here. Children who can see underwater are far more willing to submerge their faces, and a decent seal prevents the sting of chlorine that can derail the whole lesson. If goggles slip or fog, see our guides on how to stop swimming goggles from fogging and why swimming goggles leak.
Silly games for bubble practice
- Bubble volcano: make a big eruption of bubbles on the count of three.
- Blow the toy: blow a floating ping-pong ball across the water.
- Underwater tea party: hum into the water as if drinking tea.
- Tell a secret to the fish: whisper underwater so only the fish can hear.
Comfortable goggles and nose clips make face-in-water practice easier.
Step 3: Floating on the Back
STEP 3Floating is the single most valuable water-safety skill a beginner can learn. A child who can roll onto their back, breathe, and rest has a way to stay calm and buy time. It also teaches body position, which is the foundation of every stroke. The goal here is relaxation, not effort, and that is the secret that surprises many parents.
How to teach the back float
- Support the head. Stand behind your child and cradle the back of their head with both hands. Let their ears sink into the water.
- Cue the eyes. Tell them to look at the ceiling or the sky. Where the eyes go, the head follows, and a head that tilts up helps hips rise.
- Lift the tummy. Gently encourage them to push their belly button up toward the sky. A slight arch helps.
- Add the arms. Let arms float out to the sides like a starfish or a snow angel.
- Slowly reduce support. Take one hand away, then the other, staying within reach, until your child floats on their own for five seconds, then ten.
Many kids tense up and sink their hips. Use a calm voice, repeat “ears in, tummy up, look at the sky,” and add a pool noodle under the shoulders if they need more help early on. If water gets in the ears, a little chatter and a towel afterward usually solves it, and for kids who often struggle, take a look at our guides on how to prevent swimmer’s ear and the best ear plugs for swimmers.
Add the front float
Once your child is comfortable on their back, try a front float, often called the starfish float. With face in the water, arms and legs spread out, they hold a short breath and then stand up. Teach them that standing up is the way to end every float, and practice it often. Combined with bubbles, this step produces the confidence that makes everything else easier.
Roll from front to back
This is an escape skill. Show your child how to roll from a front float onto their back to breathe and rest, then roll back again. It takes practice, but it is one of the most valuable skills you can teach.
Noodles and flotation toys help kids relax in the early stages.
Step 4: Kicking With Confidence
STEP 4Kicking gets a child moving, and moving is where the joy really begins. A strong kick also keeps the hips high, which makes every other part of swimming easier. Many beginners kick from the knees and bend their legs like they are riding a bicycle, so the cues here are about relaxed straight legs and a kick that starts at the hips.
How to teach the flutter kick
- Start on the pool edge. Have your child sit on the pool side and kick their feet in the water, making splashes. Cue long, loose legs.
- Move to the wall. Hold the wall with both hands, face in the water if comfortable, and kick behind them.
- Add the kickboard. Hold a board in front, arms straight, face in the water for bubbles, then lift to breathe. Kick until you reach a goal.
- Add a partner. Pull your child gently along while they kick, then let go as the kick gets strong.
- Kick on the back. With arms by their sides or overhead, try back-kicking to the other side of the pool.
Common kicking cues
- Long, relaxed legs
- Pointed toes
- Small, fast kicks
- Kick from the hips
- Knees stay mostly straight
- Feet just break the surface
Kids love games here, too. Try a “motorboat” race with kickboards, or a “pretend you are a mermaid” contest to encourage legs together. Count laps with stickers, and always celebrate effort over distance.
| Kicking Mistake | What It Looks Like | Simple Fix |
|---|---|---|
| Bicycle legs | Knees bend a lot, little forward motion | Say “long legs” and kick from the hips |
| Flat feet | Toes flexed, kick feels like a brake | Practice pointed toes on the pool edge |
| Huge splashes | Feet kick high out of the water | Cue “tiny kicks, tiny bubbles” |
| Sinking hips | Legs drag low in the water | Look down, press chest slightly, kick faster |
A simple kickboard makes leg practice more fun and more effective.
Step 5: Push Off and Glide in a Streamline
STEP 5Gliding is the moment a child realizes they can move through the water without any effort at all. It is also a technical skill that makes everything afterward easier. A good glide teaches body position, balance, and relaxation, and it is a thrill that kids remember.
How to teach the streamline glide
- Stand near the wall. Have your child face the wall and hold the edge with one hand while you stand nearby in waist-deep water.
- Squeeze the ears. Show them how to stretch their arms overhead and squeeze biceps against their ears. Imagine a rocket or a pencil.
- Take a breath and tuck. Take a big breath and put the face in the water between the arms.
- Push off gently. Push off the wall with feet and glide toward you, or toward a toy placed a short distance away.
- Add a kick. Once they are comfortable, add small kicks at the end of the glide to keep moving.
- Stand up calmly. Practice standing up at the end of every glide, with feet down first.
Start with short distances and let your child stand up whenever they like. Over time, challenge them to glide farther, perhaps to a pool noodle on the water or to a parent standing a few steps back. Each successful glide builds confidence for stroke work that comes next.
What good glides feel like
- Smooth, quiet movement
- Face down, relaxed neck
- Hips and legs near the surface
- Arms tight and long
Signs to adjust
- Head lifted, hips sink
- Arms apart, bent elbows
- Stopping after one second
- Panic when feet leave the wall
Streamline practice goes better with leak-free goggles and a snug cap.
Step 6: Freestyle Arms and Side Breathing
STEP 6Now it is time to put arms and breathing together. Freestyle, often called front crawl, is the stroke most people picture when they think of swimming. It combines the kick and glide your child already knows with an arm pull and rhythmic breathing. Introduce it slowly, one piece at a time, and remember that perfect form is not the goal. Steady progress is.
How to teach freestyle
- Start with the single-arm pull. Holding a kickboard with one hand, pull with the other arm while kicking. Switch arms. This keeps the body balanced while the arm movement is learned.
- Reach, pull, recover. Cue “reach long, pull like you are scooping water, then lift the elbow and reach again.” Avoid rushed, windmill-like arms.
- Add the head turn. Practice rotating the head to the side to breathe while kicking with a board. Cue “chin to shoulder,” keeping one goggle in the water.
- Combine arm and breath. Take two to three strokes, turn to breathe, and repeat. Count “one, two, breathe” if it helps.
- Swim short distances. Let your child swim across a short section and stand when needed. Increase distance as confidence grows.
Why side breathing takes time
Turning to breathe asks a child to coordinate several things at once. It is normal for this step to take weeks. Make breathing practice easier by letting kids rest at the wall after every few strokes, and use bubble blowing to remind them to exhale underwater. If your child is struggling, drop back a step and rebuild confidence.
Comfortable gear helps: a snug swimsuit that does not drag and goggles that do not let in water are essential once arms start moving. If you notice red marks or pressure around the eyes, check our advice on how tight swimming goggles should be. Keeping equipment clean also extends its life, and our guide on how to clean swimming goggles covers the simple routine.
Quality goggles and comfortable swimsuits keep kids swimming longer.
Step 7: Treading Water and Core Safety Skills
STEP 7Strokes are fun, but safety skills are what make swimming truly useful. A swimmer who can tread water, float, change direction, and get to the wall or exit the pool has a real margin of safety. These skills should be taught alongside strokes, not left for the end, and they should be practiced often.
How to teach treading water
- Start with sculling. In chest-deep water, have your child move their hands in small outward and inward sweeps, like smoothing a tablecloth.
- Add the legs. Practice a gentle kicking motion, like pedaling a bicycle or an egg-beater kick for older kids.
- Keep the head up. Cue “chin up, shoulders under, eyes forward.” Short practice at first, building up to a minute or more.
- Practice calm breathing. Remind them that treading is about staying calm, not fighting the water.
The safety skills checklist
- Enter the water safely
- Float on back for ten seconds or more
- Roll from front to back
- Tread water
- Swim to the wall and hold on
- Climb out of the pool alone
- Call for help and wave
- Know pool rules by heart
Pool rules to teach early
- Never swim without an adult watching.
- Walk, do not run, on the pool deck.
- Ask permission before entering the water.
- Stay away from drains, pumps, and covers.
- Learn to get out of the pool in more than one place.
Practice what to do if they fall in with clothes on, in a calm and playful way, as part of a drill rather than something scary. Many families do this once children can swim a short distance, and instructors often offer survival-skill classes that are worth the time.
Look at sun protection, towels, and a bag to keep gear organized.
Lesson Plans and Practice Schedule You Can Follow
Structure helps parents more than anyone. When you walk into the pool with a simple plan, you can stay calm, adjust as needed, and avoid the temptation to rush. Use the sample plans below as starting points and shorten or repeat them as your child needs.
A simple 20-minute session
- Warm-up (3 minutes): splash, sing, and let your child get comfortable.
- Review (4 minutes): repeat a skill from last time, such as bubbles or floating.
- New skill (6 minutes): introduce or practice one new step.
- Game (5 minutes): end with play, such as retrieving toys or racing with kickboards.
- Cool-down (2 minutes): a gentle float or song, then out of the pool for towels and snacks.
A sample eight-week roadmap
| Week | Focus | Goal for the Week |
|---|---|---|
| 1 | Water comfort | Enjoys splashing and wet face |
| 2 | Bubbles | Blows bubbles for a count of three |
| 3 | Back float | Floats with support, then briefly alone |
| 4 | Kicking | Kicks across the shallow end with a board |
| 5 | Glide | Glides from the wall for two to three seconds |
| 6 | Arm pull | Combines kick and single-arm pull |
| 7 | Breathing | Takes two strokes and a breath |
| 8 | Safety | Floats, rolls, treads for a short time |
Treat this roadmap as a guide, not a test. Some children zip through the early weeks and slow down on breathing, and others take their time at first and then speed up. Staying flexible keeps the whole experience positive.
How often to practice
Two or three short sessions per week usually produce better progress than one long weekly session. If you can only get to the pool once a week, add water play in the bath, such as blowing bubbles and practicing floating with a few inches of water. Consistency, not length, is what builds skill.
Tracking progress without pressure
Keep a simple log of skills achieved, with stickers or checkmarks. Celebrate each milestone, such as the first bubble, the first float, and the first unassisted glide. Avoid comparisons with other children, and keep the focus on your child’s own improvement.
Pack a towel, goggles, cap, and snacks to keep every session running smoothly.
Fixing the Most Common Problems
Almost every child hits a wall at some point. The trick is to recognize the problem and respond calmly. Below are the most common challenges parents face and simple ways to solve them.
My child is afraid of the water
Go back to Step 1 and stay there as long as needed. Use warm water, play games, sing songs, and let your child control the pace. Avoid dunking, pushing, or forcing, which can set progress back significantly. Many children respond well to watching other kids, so consider a small group class once they are ready.
My child refuses to put their face in
Start with the lips only, then the chin, then the nose. Let them see you blowing bubbles and laughing. Add goggles, which often turn a reluctant child into an eager one. If goggles are uncomfortable, try a different pair, and remember that fit matters more than price.
Goggles leak or fog constantly
Leaks usually come from the wrong size, a twisted strap, or hair caught under the seal. Fogging often comes from fingerprints on the inside of the lens or a worn anti-fog coating. Our guides on why goggles leak and how to stop goggles fogging walk through the fixes in detail.
Hair is in the way
A swim cap solves most hair headaches, and a ponytail tucked under the cap keeps everything in place. If the cap pulls, see our step-by-step on putting on a swim cap without pulling hair.
Ears hurt or feel blocked after swimming
Teach your child to tilt their head and let water drain after each session, and dry the outside of the ear gently with a towel. If discomfort is frequent, read our guide on how to prevent swimmer’s ear and talk with your doctor if pain, itching, or muffled hearing persists.
My child hits a plateau
Plateaus are normal. Take a week to revisit skills your child already loves, play more games, and then return to the tough step with fresh energy. Sometimes a break of a week or two helps more than extra practice.
My child gets cold quickly
Children lose heat faster than adults. Choose warm pools, keep sessions short, and have a dry towel and warm clothes ready. A rash guard or thermal swimsuit can help for longer sessions.
| Problem | Likely Cause | First Thing to Try |
|---|---|---|
| Cries at pool entry | Fear of the unknown | Shorter sessions, songs, warm water |
| Won’t blow bubbles | Dislikes water on the face | Humming game, goggles |
| Sinks on back float | Head lifted, tense body | Support head, say “ears in, tummy up” |
| Kicks without moving | Bent knees, flat feet | Pointed toes, hip kicks |
| Gasps when breathing | Holds breath underwater | Practice exhaling bubbles |
Better-fitting goggles, soft ear plugs, and caps solve many early frustrations.
Frequently Asked Questions About Teaching Kids to Swim
At what age can kids start learning to swim?
Many children can begin water-comfort play with a parent in the first year, and structured skill-building usually clicks between ages three and five. Readiness matters more than the number on the birthday cake: look for a child who follows simple instructions, enjoys the water, and can stay calm when their face gets wet.
How long does it take to teach a child to swim?
Expect several weeks of consistent practice to build basic comfort and floating, and several months to reach independent short-distance swimming. Two or three short sessions per week beat one long session. Kids progress in bursts, so a plateau is normal and not a sign that anything is wrong.
Should I teach my child myself or hire an instructor?
Both work well together. Parents are great for comfort, play, and repetition. A qualified instructor adds technique, safety training, and a fresh voice, which helps with kids who resist their parents’ coaching. Many families combine weekly lessons with relaxed practice in between.
What if my child is afraid of putting their face in the water?
Go slower, not harder. Start with splashing, wet washcloths, and blowing bubbles on the surface. Let the child set the pace and celebrate small wins. Well-fitting goggles often help a lot, because seeing underwater makes the experience feel less mysterious.
Do kids really need goggles to learn to swim?
They are not mandatory, but they usually make learning faster and more comfortable. Goggles protect eyes from chlorine sting and let children watch what their body is doing. Choose a soft, adjustable pair designed for small faces and test the fit before the lesson.
Are floaties and arm bands a good way to learn?
They can be fun for play, but they hold a child in a vertical, upright position that is the opposite of how swimming works. Use them sparingly as a toy, never as a replacement for supervision, and focus on skills like floating and kicking that build real water competence.
How deep should the water be for beginners?
Start where your child can stand with their head and shoulders above water, usually waist to chest height for the child. Move to deeper water only when they can float, glide, and get back to the wall independently, and always with an adult within arm’s reach.
How do I stop my child from getting swimmer’s ear?
Teach them to tilt their head and drain each ear after swimming, dry the outer ear gently with a towel, and consider soft ear plugs if they get ear trouble often. If your child complains of ear pain, itching, or muffled hearing, check in with a doctor.
What should my child wear for swim lessons?
A snug, comfortable swimsuit that stays in place during movement, plus a swim cap for long hair and goggles. Avoid loose board shorts or dresses that drag in the water. Sun-protective swimwear is a smart pick for outdoor pools.
How long should each swim lesson or practice session last?
Twenty to thirty minutes of focused practice is plenty for young beginners, and older kids can handle forty-five. Stop while your child is still having fun. A short happy session builds more confidence than a long tearful one.
When can my child swim without supervision?
Never for beginners, and not for a long time after they learn the basics. Swimming skills reduce risk but never remove it. A responsible adult should be watching closely, without distractions, any time a child is in or near water.
What is the best stroke to teach first?
Most instructors start with floating and kicking, then front paddle and freestyle, then backstroke. Back float and rolling over to float on the back are especially valuable because they give a child a way to rest and breathe if they get tired.
Start with comfortable goggles, a snug swimsuit, and a few simple learning aids.
Conclusion: Patience, Play, and Plenty of Practice
Teaching a child to swim is one of the most rewarding things a parent can do. It is also one of the most important. If you remember only one thing from this guide, let it be this: the order matters, and the pace belongs to your child. Start with comfort, build breath control, learn to float, add kicking, discover the glide, combine arms and breathing, and finish with the safety skills that keep children safe in and around the water.
Along the way, keep lessons short and cheerful, celebrate every tiny milestone, and rely on gear that fits and feels good. When a child feels safe, they try again. When they try again, they learn. And before long, you will watch them push off the wall and swim across the pool on their own, grinning from ear to ear.
Above all, keep an adult within arm’s reach whenever a child is in or near water, and treat swimming skills as one layer of safety alongside fences, supervision, and good habits. Ready to start? Grab the essentials and head to the shallow end.
Goggles, caps, kickboards, and swimsuits to make every lesson smoother.
Pingback: How Long Does It Take to Swim a Mile? Times by Level